Tuesday, November 15, 2005

1. The RAM strip


The RAM strip is static sensitive. Do not remove from the package until you are ready to install. Do not walk around the office carrying it. Do not touch the gold-plated contacts.

Please notice the notch in the bottom of the strip (Indicated by the red arrow). There is only one correct way to install it - you will need to line up the notch with the slot.

Monday, November 14, 2005

2. Shut Down the PC

You will need to shut down your PC before installing the RAM.

Click the Start button on the lower left part of your screen.
Select Shut down...
Select Shut down from the pull-down list.
Click OK.

Once your screen has gone dark, you should unplug the PC. The power plug is the large plug on the top when you are looking at the back side of the PC where all of the cables connect. The power plug is usually black and sometimes gray.

Once you have unplugged the power, please lay the PC down on it's flat side. This would be the right side if you are looking at the front of the PC. You may need to unplug more cables to allow the PC to lay flat.

Sunday, November 13, 2005

3. Remove the Cover


In order to remove the cover, you must first loosen the thumbscrew on the back. Turn the screw in a counter-clockwise direction several turns until you feel it pull back and spin freely. The screw will not come all the way out - it is designed to stay with the cover.

If you are vertically challenged, you may stand on the venting grid for support. Be mindful of sharp edges on the metal, though.

Once the screw is loose, you must remove the cover. The cover is designed to slide toward the back of the computer. COMPAQ has engineered a depression into the side of the cover to assist you. The depression will help provide you with leverage which you may need in order to slide the cover off. The cover will slide toward the back about a half-inch, and then you may lift it off.

It may prove necessary to apply quite a bit of force to remove the cover. We recommend using one hand to apply pressure near the back, and using the heel of your palm on the other hand to gently strike the cover in a direction toward the back. The photograph is intended to illustrate the direction of the force necesary to remove the cover. It does not depict a recommended cover removal method due to warranty concerns.

Saturday, November 12, 2005

4. Locate the Memory Slot in the PC

The memory will be installed on the motherboard inside the PC. There are two black slots on the motherboard - each is roughly 6 inches long. These are often partially obscured by a bundle of red, black , and orange wires. You may gently push the wires to the side in order to see the slot better.


Most computers were issued with only one stick of memory installed. Please contact the Helpdesk if you already have two memory sticks installed.


There are white locking tabs at each end of the memory slots. You will need to open the tabs on the free slot before installing the memory. Gently push each of the two tabs to the side. The second picture shows how the properly prepared slot should look.


Now look closely at the open memory slot. Notice the plastic bump in the middle of the channel. You will need to line up the notch in the new memory stick with the bump in the channel.

Friday, November 11, 2005

5. Install the Memory


Once you have oriented the memory correctly above the slot, with the notch and the bump matching up, and both ends lined up within the channel and centered next to the white tab, you may install it.

Gently apply moderate downward pressure until you feel and hear the white tabs lock into place.

You may need to do one side first, then the other.

When installed properly, it will look like this:


Great job!! You are almost done.

Thursday, November 10, 2005

6. Putting Things Back Together


The the additional RAM securely in place, it's time to put the cover back on. For many, this operation is much easier than removing the cover.

Place the cover over the opening with the thumbscrew oriented toward the back.

Line up the latching tab on the cover with the appropriate slot on the case.

Slide the cover toward the front.

Tighten the thumbscrew using a clockwise twisting motion.

Replace any cables that needed to be disconnected.

Press the power button on the front and take your seat.

Before the computer will finish booting up, you will be presented with a black screen with a message informing you that the configuration has changed. This is good. Press the F1 key to accept the changes.

Resume your workday, and enjoy the lightning-fast speed of your new RAM module!

Wednesday, November 09, 2005

7. Warnings!


There are several things that can go wrong in the course of this project.

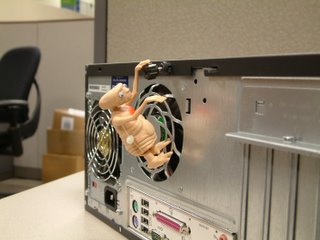
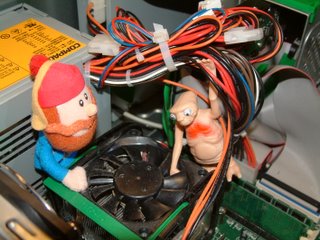
For example, you could get your hand stuck in the blades of the CPU fan. (Never mind that it should not be running when the power is off).


If this misfortune befalls you, you should enlist the help of a trustworthy friend, preferably one with a pickaxe.

And one final note: when you are putting the cover back on, make sure you are on the OUTSIDE of the computer.